Managing Documents
First Sign in
- Sign in
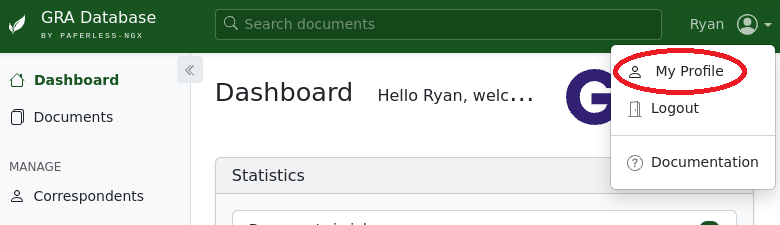
- Select the figure in the circle in the top right corner
-
Select "My Profile"
Click on this box to view an image showing the location of these buttons
-
Change your password
- Click Save
Upload Documents
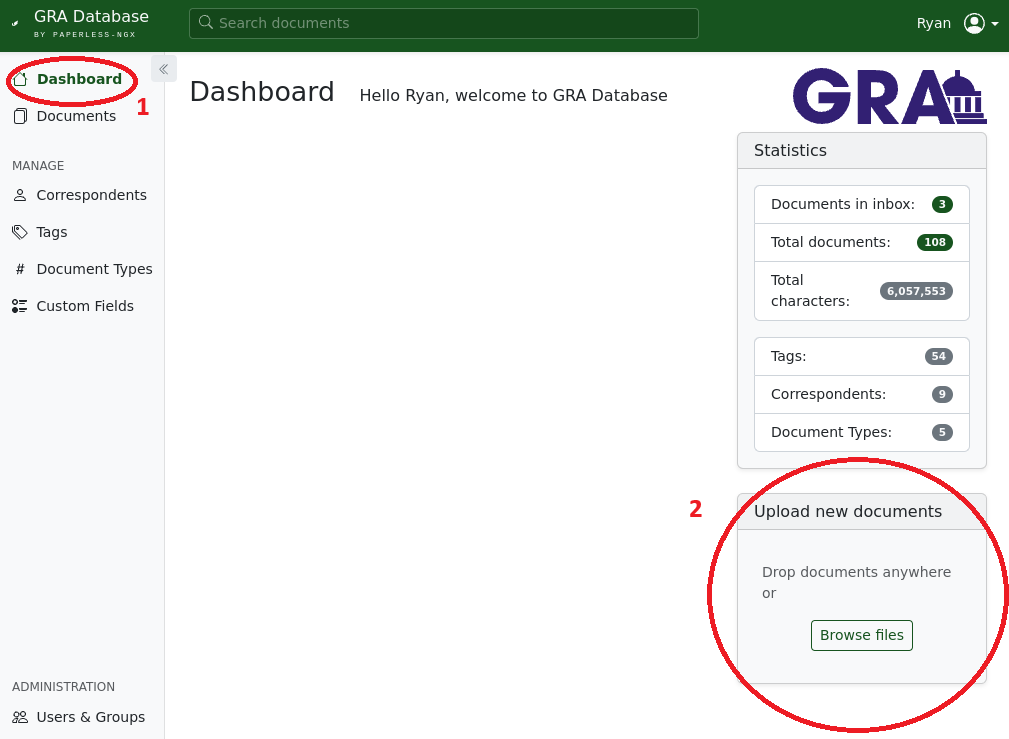
- Navigate to the "Dashboard" (available on the menu on the left)
-
Drag and drop documents into the "Upload New Documents" section or select the
Browse FilesButton.Click on this box to view an image showing the location of these buttons
- Wait for documents to upload
- If you want to upload documents via email or ssh/ftp contact Christopher
What documents should be uploaded?
Currently we are asking organizations to focus on uploading their primary research products beginning with 2020. For most organizations that would be short-form research (generally 5 pages or less) or long-form research. However, if you have alternative research types, the database if bo
Categorizing Documents
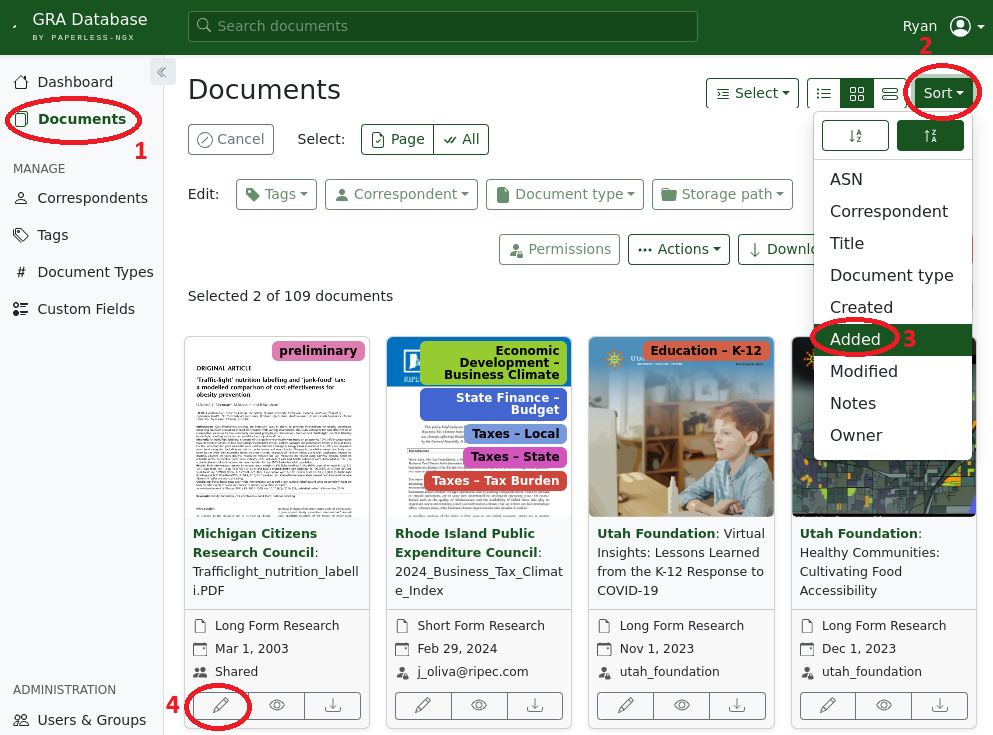
- Navigate to "Documents" (available on the menu on the left)
- If you don't see your documents available, select
Sortbutton (top right under the profile button) and selectAddedto see the most recently added documents (they should be the ones you just uploaded) -
Select the
Editbutton (the pencil)Click on this box to view an image showing the location of these buttons
- Update the document (as needed)
Many of these values will attempt to auto-populate. It will probably get a lot of your initial documents wrong, but after it has had some time to learn your format, hopefully it should do better.
- Update the Title
- Ignore the
Archive serial number - Update the
Date Createdfield to the date the report was published - Change the
Correspondentto the name of the publishing organization - Change the
Document Typeto the correct document type - Remove the "preliminary" tag to show that you have updated the document, and replace it with the applicable tags.
- Click either
SaveorSave and nextwhich would pull up the next document in the list. -
Above the
Titlebox are different tabs. You may like to update some of these different fields as well. -
Click on this box to view an image showing the location of these buttons
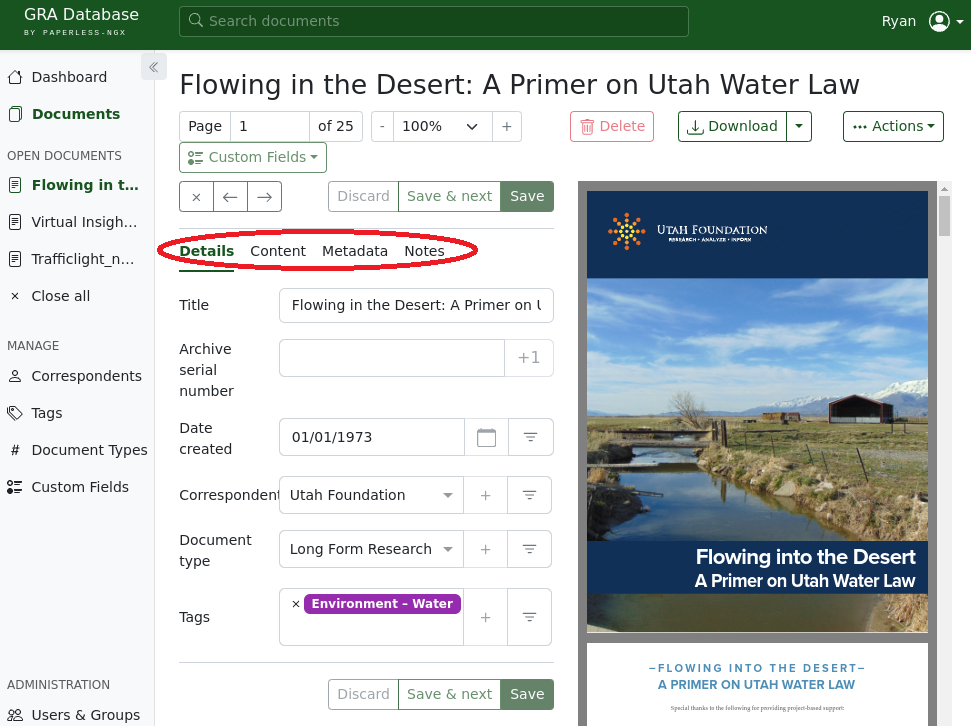
- The
Contenttab has a OCR rendered version of the text. You may want to look it over and remove lists of sponsors or correct problems with unique fonts (sometimes the titles) - The
Notestab allows you to add any additional commentary you like.
- The
You can easily apply many of these updates to multiple documents from the Documents tab. Just select the documents you want to change and then alter the properties using the dropdowns Tags Correspondent or Document Type. Click this tab to view an image showing the location of these buttons.
